Modern-Striped Twin Quilt - Session #4 of 4

Supplies/Materials:
For a list of supplies and materials, refer to Modern-Striped Twin Quilt - Session #1 of 4.
As a refresher, here is the project design and its dimensions. The finished, twin-size quilt is 68" x 87".


As I mentioned in the previous posts, the instructions for this project are broken down into four sessions. The four sessions are as follows:
- Cutting the Fabric
- Piecing the Quilt Top
- Sewing the Borders and Preparing for Finishing
- Finishing the Quilt: Tying and Binding
*****
Let's get started on the final session...
Session #4: Finishing the Quilt: Tying and Binding
Tying the Quilt
In Session #3, you prepared the quilt for finishing by laying the fabric backing (wrong side up), batting, and quilt top (right side up) on top of one another. Then, you secured the layers together using safety pins. Now, you are ready to tie the quilt.

There are three different ways you can finish a quilt:
- Tying: This is the most basic and least labor intensive option. All you need is embroidery floss (or yarn) and a needle.
- Hand-Quilting: This method is not difficult but it is extremely time and labor intensive. You will need a needle, thread, quilter's hoop, and thimble.
- Machine-Quilting: You will need to practice machine-quilting before you master this skill. This method is probably the most difficult, but it takes more time than tying and less time than hand-quilting.
Since this a "beginner" quilt, I will instruct you on how to tie the quilt. However, you are more than welcome to use another method if you have some experience or feel comfortable trying them out.
You may use embroidery thread, DMC floss (the type of thread used in cross-stitching), or yarn for tying the quilt. Use any color you would like.

Thread your needle with the embroidery floss; do not tie the end of the thread. Taking the needle, go through the three layers of your quilt (backing, batting, and quilt top); make your stitch approximately 1/2".
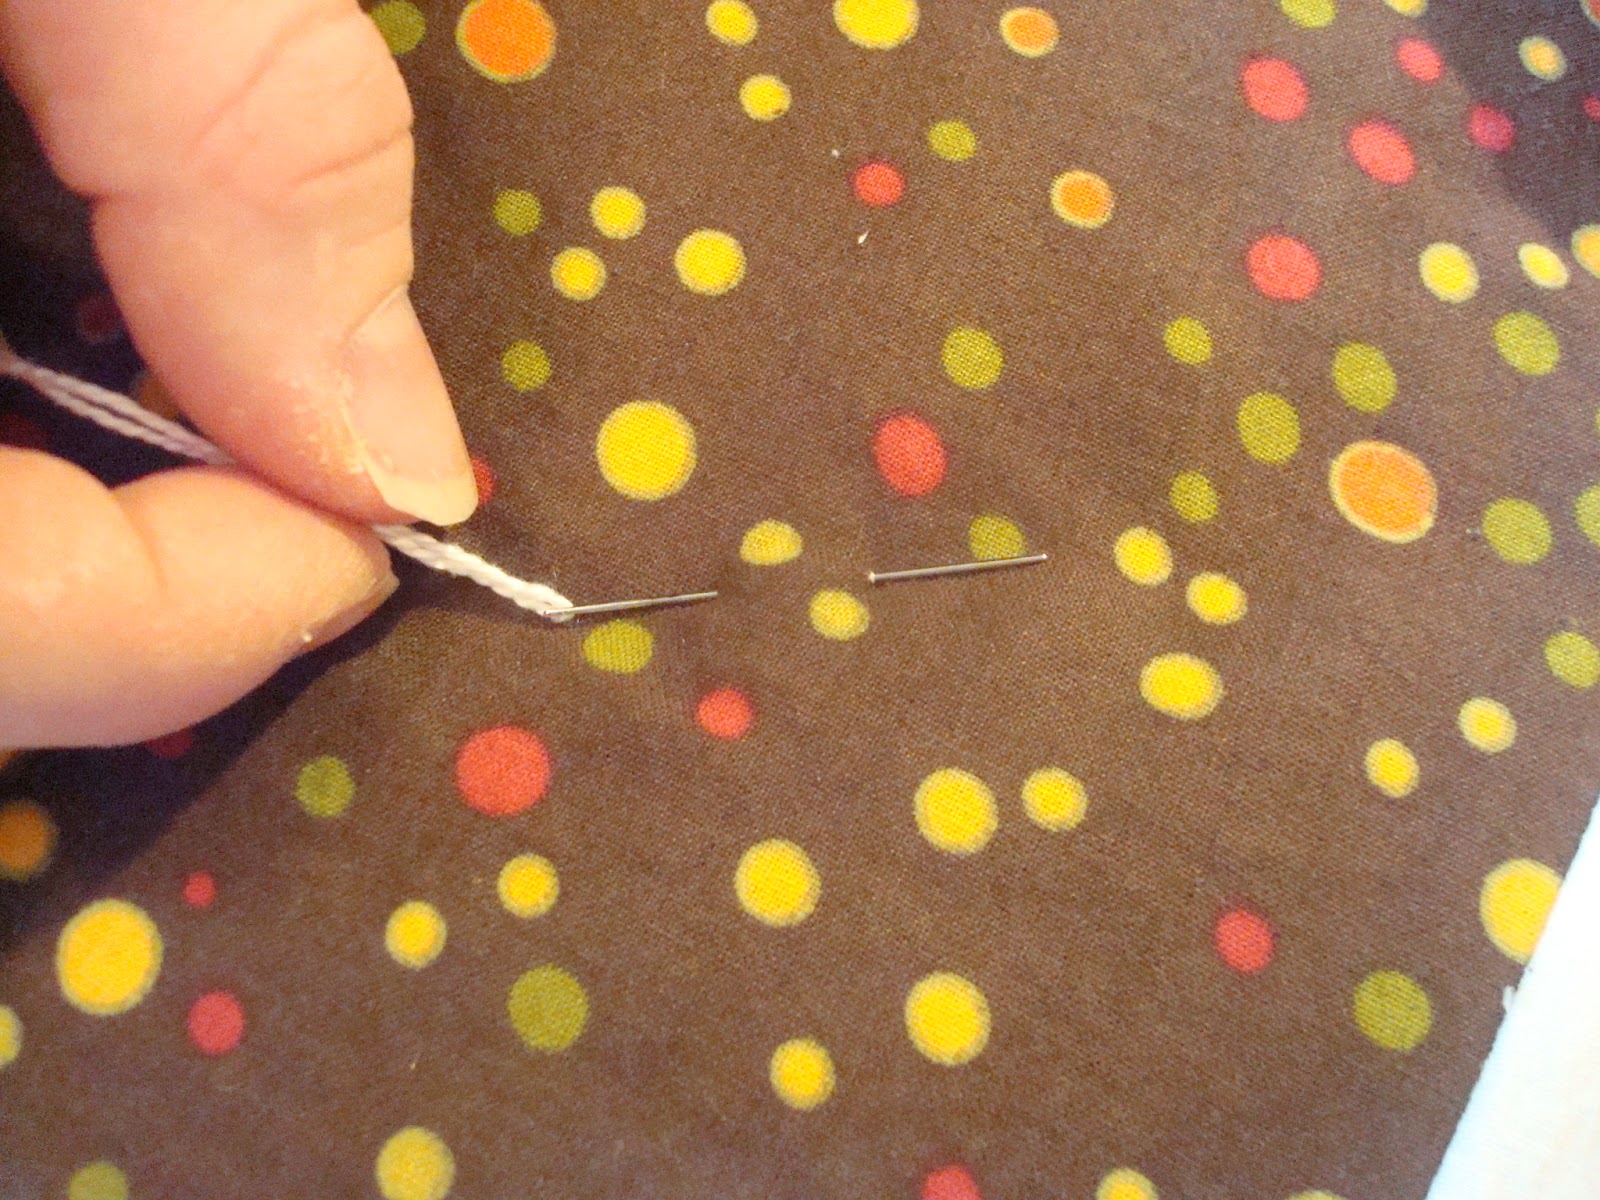
Leave about a 2" tail, and snip the thread so you have two 2" tails to tie a knot.

Tie the thread in a double or triple knot to ensure the thread is secure.

Once the thread is knotted, snip the thread so you have approximately 1/2" tails.

Continue making ties approximately every 6" - 8" over the entire quilt top. You may choose to place ties in a pattern. For example, at every corner or in the center of your quilt blocks. Just make sure you place ties every 6" - 8" so that the quilt layers are secure. This is especially important so the layers stay in place when you wash your quilt.
Here is a video of how to tie-off a quilt:
Now that you have tied your quilt, you will begin the final step: binding.
There are a few different ways to "bind" a quilt. The method described below is a a double-fold french binding. You will use your sewing machine to sew the raw of the binding to the raw edge of your quilt, then you will finish by hand sewing.
You should have 3/4 yard of fabric for the binding, so your fabric piece should be approximately 27" x 45". Cut the fabric you purchased for the binding into 2 1/4" strips; cut the strips so that they are 45" long. You will need 8 strips this length. As a reminder, you will only see about 1/2 inch wide of this fabric, so I wouldn't choose anything with a big print. These strips do NOT need to be cut on the bias.
 |
| Eight (8) binding strips cut into 2 1/4" strips |
Next, the strips need to be sewn together so that you will have one continuous strip that will go around all four sides of the quilt. The strips will be sewn together using a 45 degree angled seam so that the seams are not as bunchy. It is helpful to use a mat with gridlines for this process. The following instructions explain how to sew the strips together:
Place the first strip right-side up horizontally on the mat along one of the gridlines. Then, place the second strip right-side down (so that the right sides are facing one another) vertically and at a 90 degree angle to the first strip. The second strip should be towards the right side of the first strip.

The strips will be sewn together using a 45 degree angle. Using chalk or a pencil, draw a 45 degree angle from the upper left corner to the lower right corner of the two intersecting strips. Pin the strips together and sew along the line.


After the seam is sewn, trim away the access fabric by cutting 1/4" from the stitched line. Iron the seam open.


Continue this process until all of your strips are sewn together.
On an ironing board, lay the binding wrong-side up. Beginning with the right end of the long strip, fold the binding in half lengthwise so that the edges align. Iron the entire strip until the last 6".

You will be creating a "V" fold on the left end of the long strip. This type of fold creates a pocket to hide the starting/stopping point of the binding when you sew it to the quilt. Fold the bottom left corner of the strip to form a 45 degree angle and press. (Refer to the picture on the left below.) Then, continue folding the binding in half and iron the last few inches as you did in the previous step. You will notice that the end is in a "V". (Refer to the picture on the right below.)


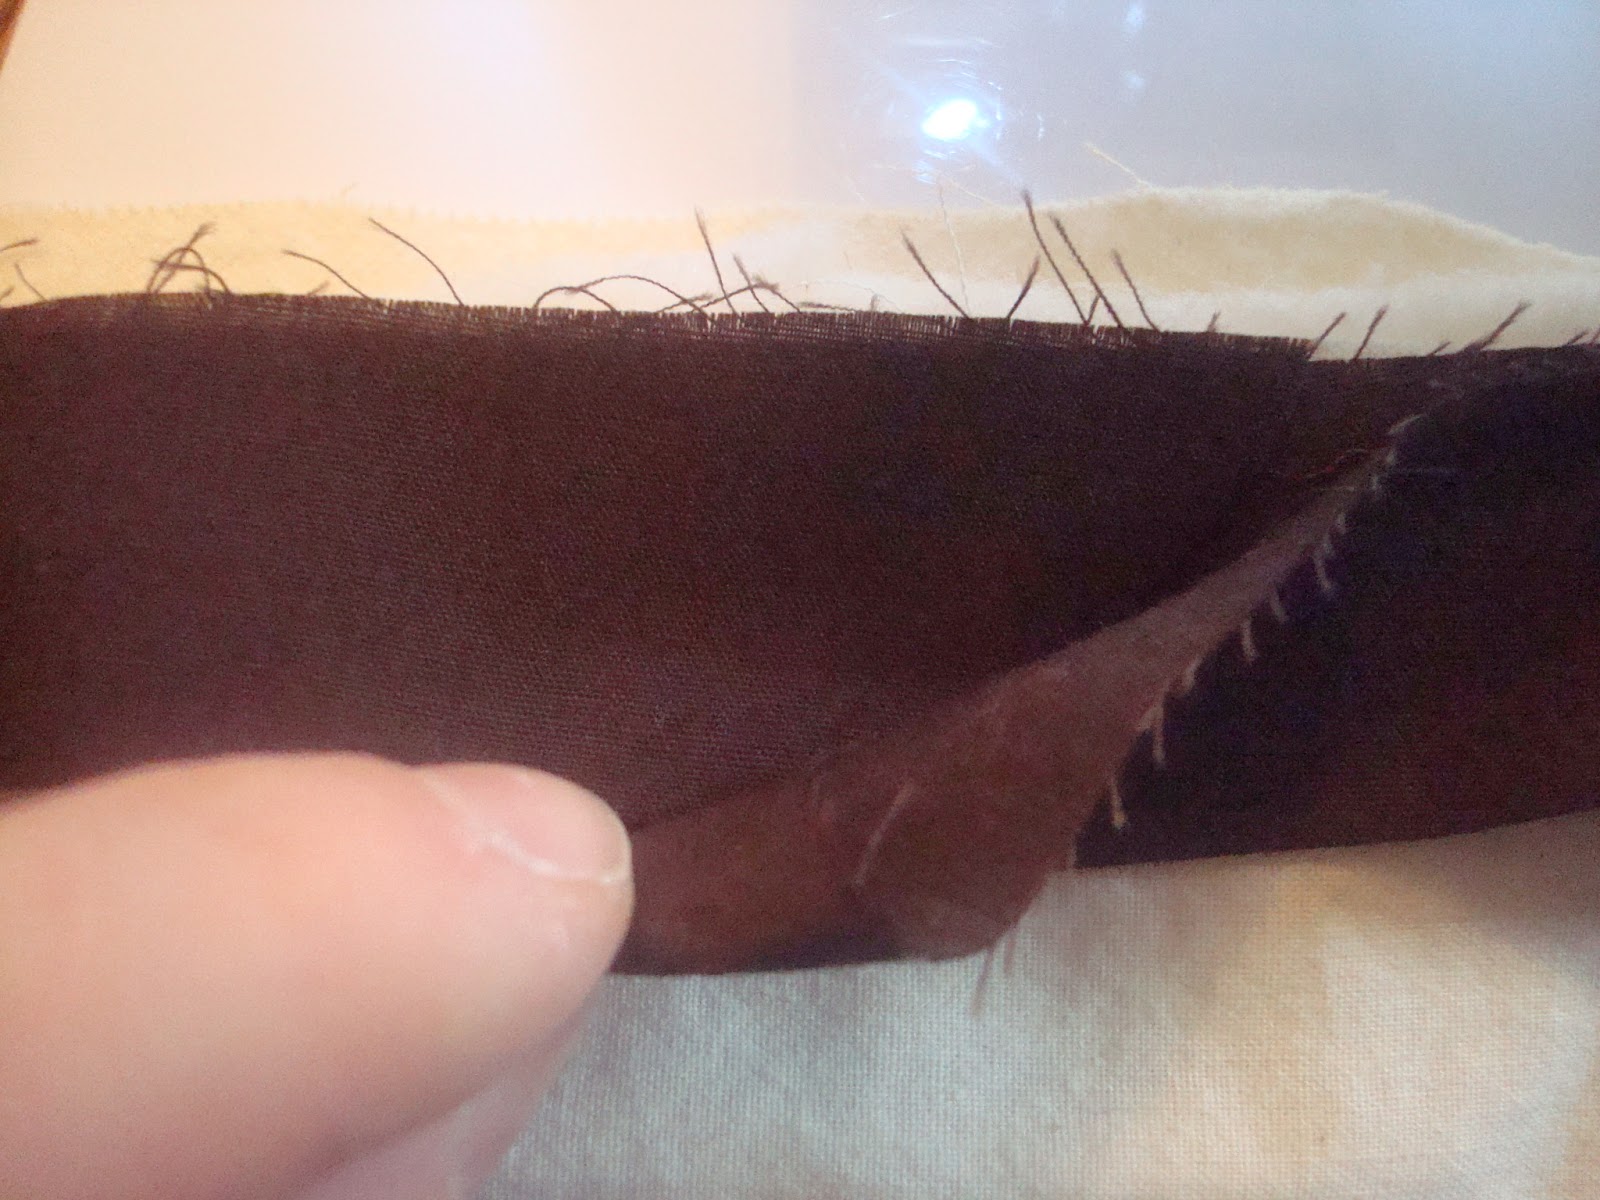
Now the binding is ready to be sewn onto the quilt top. You can begin the binding at any point around the edge of the quilt, but start at least a few inches away from any of the corners. Pin the binding to the quilt top so that the raw edge (as opposed to the folded edge) is even with the quilt top edge. (In the picture below, the folded edge is at the top and the raw edge of the fabric is at the bottom.) Start with the "V" end of the binding. You want to make sure the "V" fold is positioned as the picture shows below so that you can feed the fabric through your sewing machine properly. If the "V" end was on the left, you would not be able to feed all the quilt material through your sewing machines. If this doesn't make sense, just trust me. This is one of those mysterious quilting instructions that doesn't always make sense until you do it. :)
Continue pinning the binding every 4" - 6" until you reach the first corner.

When you begin sewing, start about 4" down from the "V" fold so that you can tuck the other end of the binding into the fold when you reach the end. Sew the binding using a 1/4" seam allowance. Sew the first edge until you are approximately 1/4" from the corner; sew a back-stitch

You need to create a couple folds at the corner before continuing to sew. First, bring the unsewn portion of the binding straight up to creat a 45 degree fold at the corner. Pin the fold in place as the picture below shows.

Bring the binding straight down so that the raw edge of the binding aligns with the quilt top edge of the next side to be sewn.

Pin the entire second side and sew using a 1/4" seam allowance. Continue around all four sides of the quilt until you are about 3" from the "V" fold.

As you approach the "V" fold, measure enough binding to tuck the end into the fold. Cut the binding at a 45 degree angle parallel to the "V" fold before tucking it in. Pin and finish sewing as depicted in the pictures below.


Now that the raw edge of the binding is sewn onto the quilt, finish sewing by hand using a slip stitch. Take the folded edge of the binding and wrap it over top of the raw edge of the quilt so that the folded edge of the binding is on the quilt back. Sew the binding by hand using a slip stitch. (I also explained how to sew a slip stitch on my "Taggie Blanket" post if you want to see step-by-step pictures.)
Here is a video of how to slip stitch the binding onto the quilt: (Sorry in advance for the poor video quality.)
If this was your first attempt at making a quilt, congratulations! I hope you enjoyed it and that this is the first of many quilts to come.
0 Response to "Modern-Striped Twin Quilt - Session #4 of 4"
Post a Comment