My Tomatoes' Journey: Sowing your Seed (Part 2)
 The day has arrived to sow our seeds! (No, not that kind of sowing your seed...come on, this is a kid-friendly blog.) As a reminder, we plant the seeds six to eight weeks prior to the average last frost date in your area. Although this step does not take a lot of active time, you do need to set aside a couple hours to allow the water to soak into your soil. So, you'll start the process; let it hang out a couple hours, and then finish it up. As I mentioned in Part 1, you will need the following supplies:
 - Seeds
- Seed Starting Mix (I'll be using the term "soil" for the rest of the post, but remember this is a special type of mixture.)
- Plant Containers
- Tray for Plant Containers
Here are a few additional things I didn't include on my original list. Hopefully, you have these things lying around the house:
- Plastic Wrap: You will use this to cover the plant containers and create a "greenhouse-like" environment.
- Permanent Marker (or something to label your plant containers)
- Water
Now that you have everything you need, let's begin.
- If you are not using the plastic six-pack trays (or a container with holes in the bottom), you will need to create holes in your plant containers. This will allow water to seep up through the bottom when watering your plants. Simply use a knife, pencil, or something that will puncture the material to create a hole in the bottom of the container. If you are using an egg carton, puncture a hole in each of the 12 segments. Make sure you create a fairly big hole (like the size of the entire diameter of a pencil, not just the tip). Initially, I didn't create large enough holes, and the water had trouble soaking up into the trays.


- Lay the plant containers in the tray you will be using. As you can see, I'm using a rimmed baking sheet.

- Fill the containers with the seed starting mix leaving about an inch at the top.

- Next we need to water the soil. However, do NOT just pour water on top. This will water-log the mixture and be too wet of an environment for the seeds to thrive. Pour water into the bottom of the tray so that the water seeps up through the bottom holes of your containers. This may take some time. When I did this, I just put water in the bottom of the tray and let it sit for a couple hours. You really want the soil to naturally soak up this water. Keep adding water and checking back. If you notice water remaining in the bottom of the tray, you know you're ready for the next step.

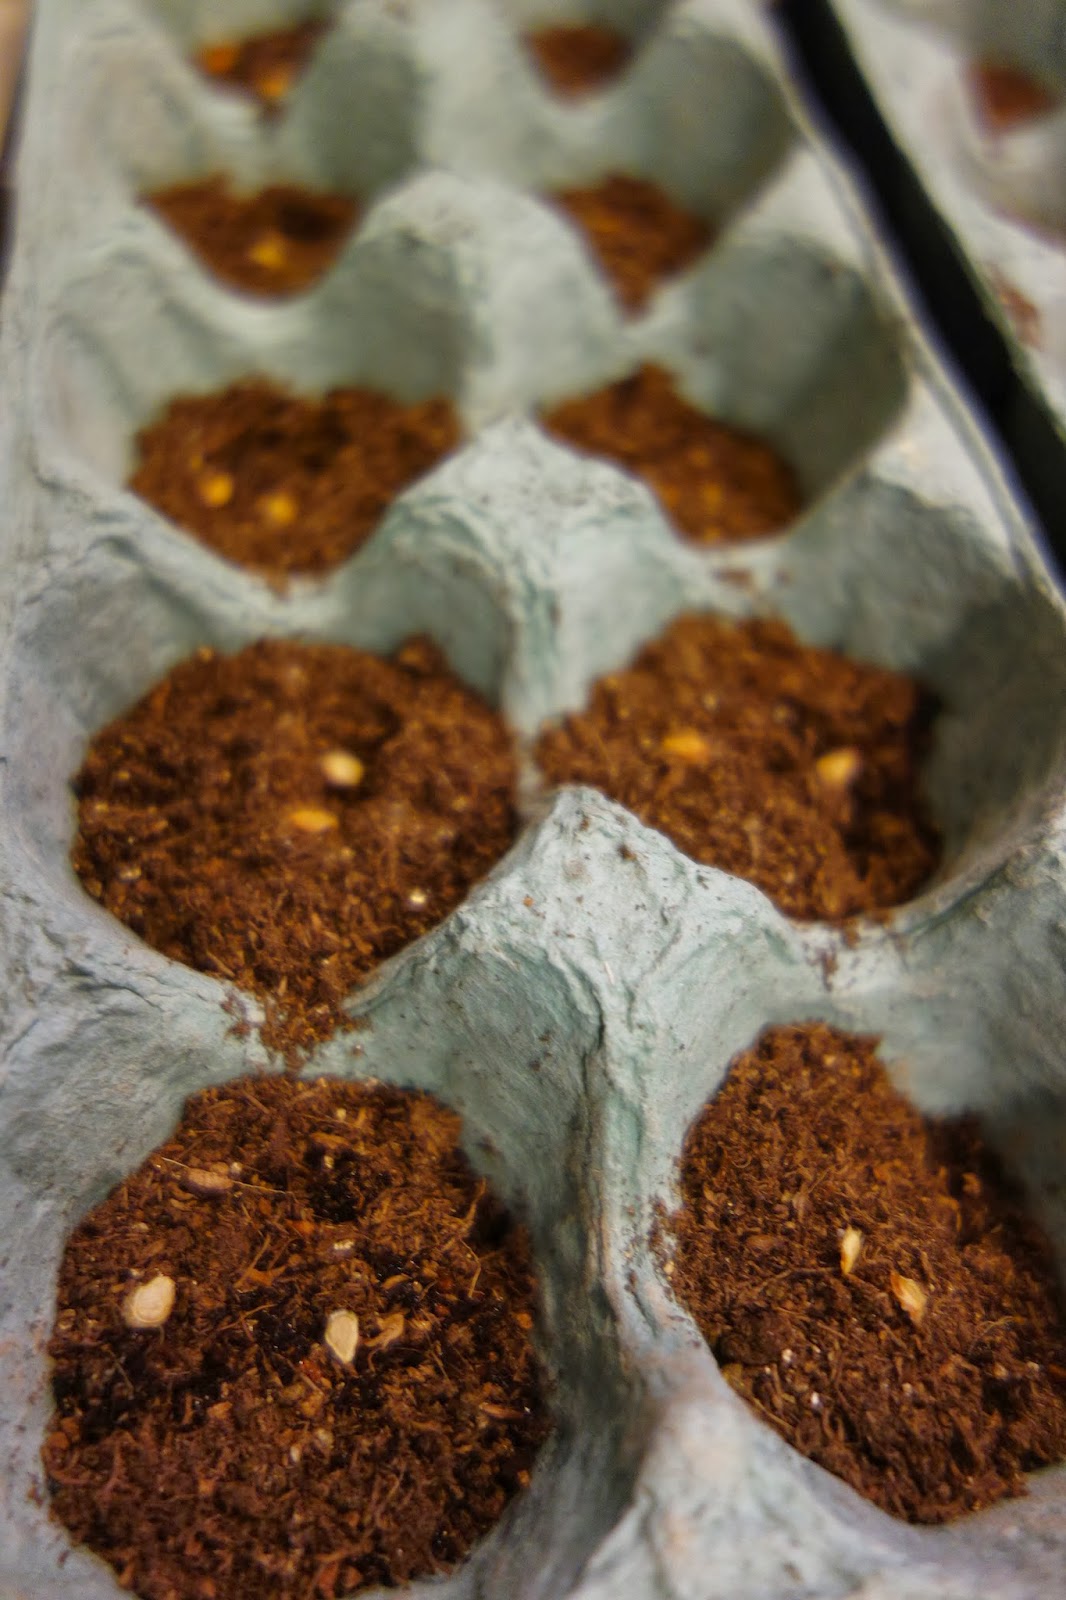
- Place TWO (not one, not three, but two) seeds in each section (this applies if you are using the plastic six-pack trays or egg cartons). If you are using a bigger container, you could use a piece of cardboard or something to segment the container into sections. Once the plants poke through, you will thin them out, but I'll get to that at a later time.

- Label your seeds so that you know what types of seeds are in which compartment. I used a permanent marker to write on the outside of the containers. I wrote "BM" (No, not for bowel movement...get your mind on tomatoes, folks!;) for "Beefmaster Tomatoes".

- Cover the seeds with an additional 1/4" to 1/2" inch of the seed starting mixture.

- Cover the trays loosely with saran wrap to create a miniature greenhouse and set the trays in a warm environment where it stays between 70 to 75 degrees F.

- Each day until your plants sprout, take the plastic wrap off for a little bit to let the soil breath and also check the soil's moisture. (See my note below about when and how much to water).
Now that we've sown the seeds, we wait. You will probably see sprouts in as little as 5 - 7 days. Until then, here are a few tips on how to care for your seeds until you see the plants sprouting.
Where should I keep my trays?
Ideally, you want to keep the trays in a constant temperature environment (between 70 and 75 degrees F). Many people think a window sill is a great location, but what we may not realize is that temperatures next to the window may fluctuate a lot throughout the day and night (getting hot in the direct sunlight and dropping off during the night). So, a few unlikely ideal places to keep these trays until your seeds sprout may be on top of the refrigerator or another heat-emitting appliance. Do not put them on top of a radiator though because that will totally dry out the soil (and it's probably a fire hazard). If you don't have a location like that available, simply keep the trays on a counter in an evenly heated room.
When and how much to water?

We may be inclined to overwater at this stage. Check your moisture levels each day. If the soil is dry to the touch, then add some more water to the bottom of the tray and allow the soil to soak it up through the bottom. If the soil is moist, you don't need to add any water. One reason we don't water from the top at this point is so the seeds don't wash up from under the soil. However, you may lightly mist the top of the soil with a water bottle.
After those plants peak up through the soil, we will turn our attention to getting those little guys some light. I'll cover that in my next post...
Check out my other posts on My Tomatoes' Journey.
0 Response to "My Tomatoes' Journey: Sowing your Seed (Part 2)"
Post a Comment